
Simple Volume Creation
Create a simple volume by subtracting a sphere from a box.

Goals
In this tutorial, you will learn how to:
- Create a box and a sphere
- Create axes
- Translate objects
- Subtract one volume from another
- Fillet a volume
- Shade faces
Assumptions
- You have activated the Caedium Builder add-on or Caedium Professional.
- You are familiar with Caedium essentials.
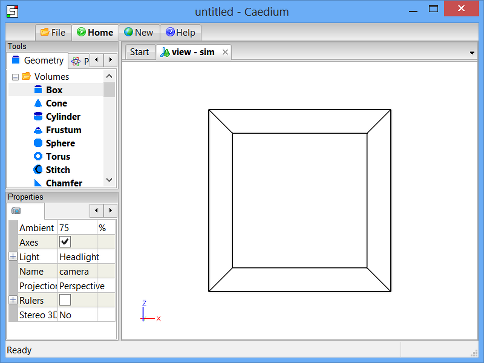
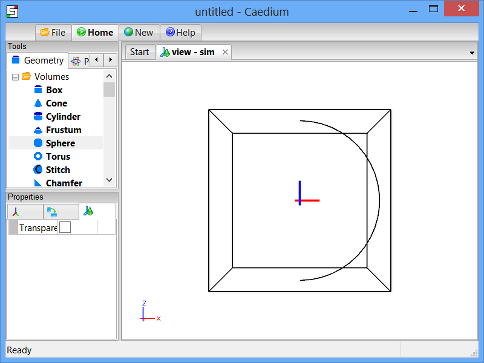
Create a Box
Select the Geometry Tool Palette. Drag and drop the Volumes->Box tool onto the View Window (view). Select Done to create a box (volume).
All geometry is created at the origin by default.
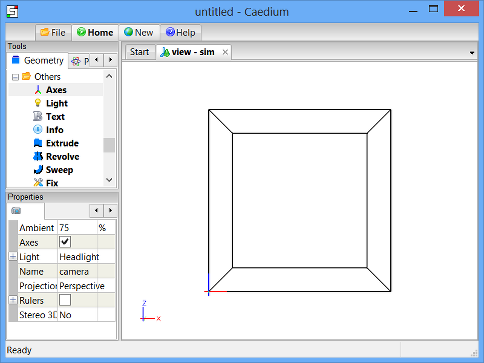
Create and Translate Axes
In the Geometry Tool Palette, select the Others->Axes tool. Drag and drop it onto the View Window (view). Double-click sim in the Select dialog and select Done to create axes (axes).
You may need to scroll down through the Geometry Tool Palette list to find the Axes tool.
Axes can be translated to any location in the View Window. You can then create geometry that is centered on those axes rather than at the origin (the default location).
To translate the axes to a new location in the View Window, select the Transforms->Translate tool. In the Properties Panel set Translate to [5 -2.5 5]. Press Enter on the keyboard to apply the changes to the Properties Panel.

Drag the Transforms->Translate tool and drop it directly onto the axes you created in the View Window. Select Done to translate the axes.
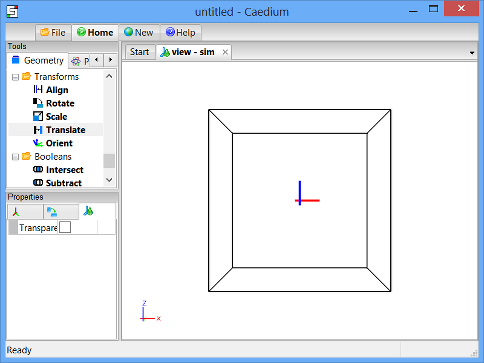
The axes will now be visible in the middle of the View Window.
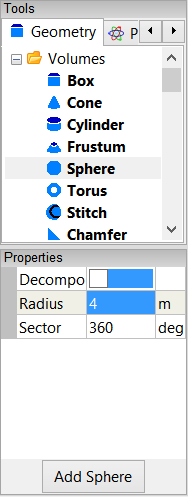
Create a Sphere
Select the Volumes->Sphere tool and turn off the Decompose property in the Properties Panel. Set the Radius to 4. Press Enter on the keyboard to apply the changes to the Properties Panel.
The Decompose option instructs Caedium to split the sphere into six four-edged faces. This option is useful in simplifying the meshing process.
Drag and drop the Volumes->Sphere tool directly onto the axes you created. Select Done to generate a sphere (volume_1).
The sphere is centered on the axes.
Note that the edges of a volume are shown in the View Window by default; hence the sphere is displayed as a single line, as shown above.
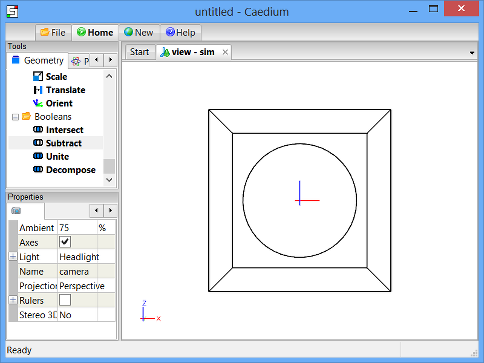
Subtract the Sphere from the Box
Drag and drop the Booleans->Subtract tool directly onto an edge of the box. Double-click volume in the Select dialog to select the box.
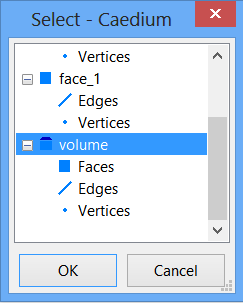
Select Select/Deselect from the menu, right-click on the edge of the sphere (volume_1), and then double-click volume_1 to select the sphere. Select Done to subtract the sphere from the box.
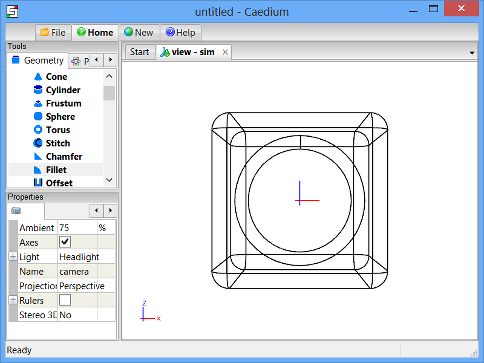
Fillet the Volume
Drag and drop the Volumes->Fillet tool onto an edge of the new volume (volume_2). Double-click volume_2 in the Select dialog and select Done to create a filleted volume (volume_3).
Shade the Faces of the Volume
Right-click on one of the edges of the volume, double-click volume_3->Faces, and then select Properties from the menu. In the Properties Panel, turn off the Transparent property to make the faces of volume_3 non-transparent. To rotate the view so you can see the cutout in the side of the box as shown below, left-click-and-drag the mouse in the View Window.
- Login to post comments
Select Language
Free 30-Day Trials

Feedback
Questions? Ideas? Problems?
